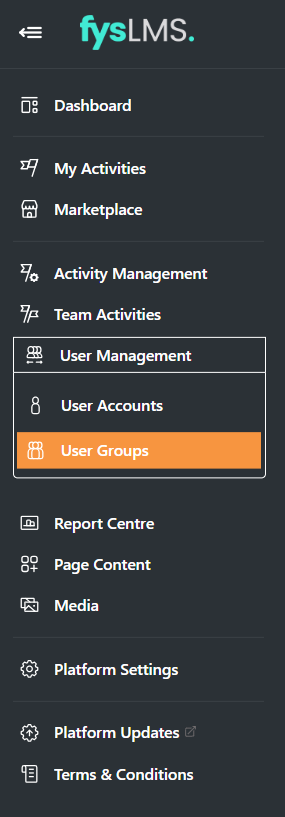
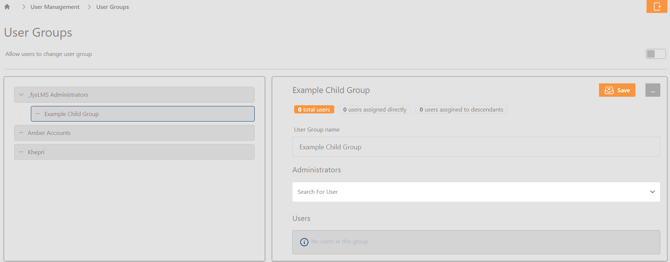
- Select the "User Management" tab located in the left navigation menu and then the "User Groups" tab in it's dropdown box.
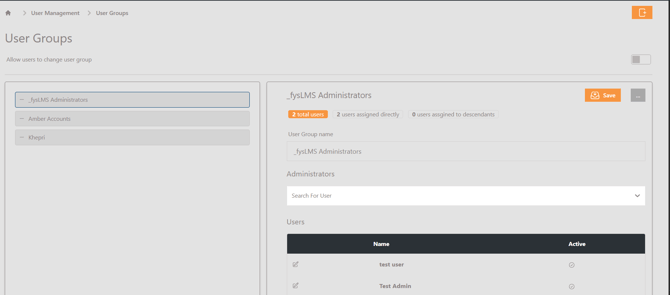
- Locate and select the user group you want to create a sub-group in. It should populate the fields on the right with information similar to the below.
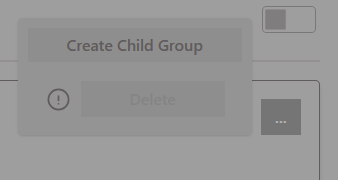
- With the User Group selected, select the three dots to the right followed by the 'Create Child Group' option.
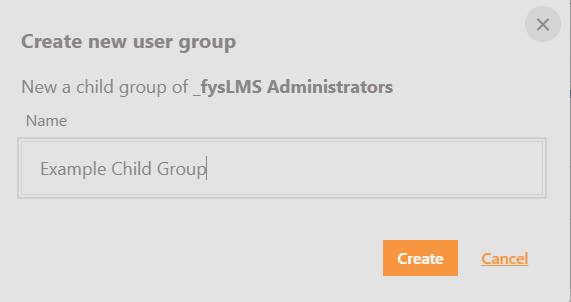
- In the generated pop out, input a group name and click ' Create'.
- If desired, you can assign a user to look over the groups activity with minimal permissions by inputting an admin in this screen.
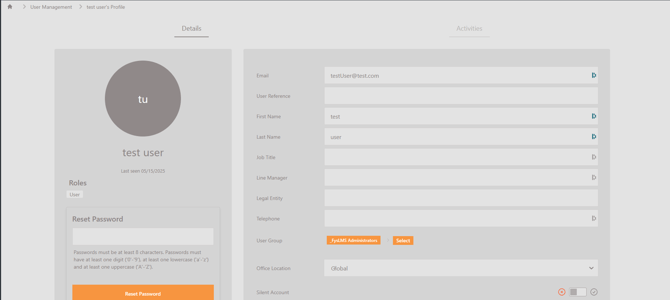
- To assign users to this group, select on the 'User Accounts' tab on the left navigation menu, located in the "User Management" dropdown.

- Locate and select a user you want to assign to this new sub-group.

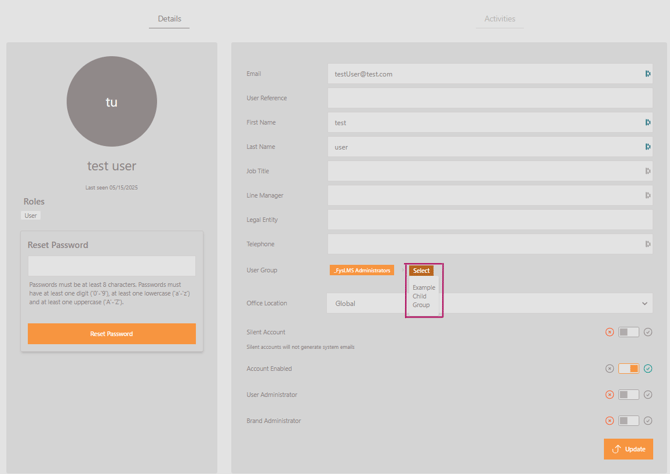
- On the Profile Details page, go to the User Group field and select the 'Select' button followed by the desired group. Follow this process until you open the location of the newly created Sub-Group.
- With the user now allocated to the new sub-group, be sure to click "Update" at the bottom of the screen.
- You can repeat steps 7 through 9 for as many users as needed.
English
